After she left for home I was left with a pile of albums scattered across the bed waiting to be returned to their home on the shelf. Of course, I sat down and started flipping through them and I can't even express the feels I got just looking through some of the older layouts...several of which I don't even remember doing, lol. But it was the memories they evoked that had me smiling all the way to the last page. Not that I needed the reminder but when I closed the last album I was reminded of exactly why I continue to scrapbook after all these years.
I love the creativity involved in scrapbooking but it's the memories preserved that keeps me going. I can only hope that my children, their families and so on, will someday look through those very albums with smiles on their faces as they say "Oh, I forgot about that!" They aren't going to wonder if the paper was "outdated" or if I used the "latest" techniques...they are only going to see the love and the memories.
So yes, I am Ms. Sentimental and I honestly wouldn't want it any other way :)
We are actually on Fall Break this week and I am going to hopefully get at least one scrapbook page completed. I encourage you to also get scrappy :) Preserve those memories, guys!! I promise you it is time and money well spent!
And now, if you aren't tired of reading just yet, then have a look at these 3 layouts I have to share today. You'll probably notice a line through the photos and I apologize in advance. Apparently, a sensor needs to be replaced in my camera and I need to send it in to Canon and I haven't done that yet.Hopefullythe line isn't too distracting and you are still able to enjoy the layouts and get inspired.
 |
| Our grandson on his first Halloween in 2013. I wish you could see how vibrant the colors are on this layout. It really just looks washed out in the photos. The yellow cardstock piece is hand sewn to form a pocket to hold all the extra photos as well as the journaling tag. The "monster" paper piecing is a file I downloaded from Miss Kate Cuttable. It originally had only one eye but I modified it to match the costume he was wearing. Some large googly eyes was the perfect touch. I also used Doodlebug flock to make the monster feel fuzzy. |
 |
| More close up view of the monster...I am proud of the way he turned out and he's the perfect accent for this layout. I also used some blue acrylic paint and a toothbrush to make the splatters. |

 |
| simple title formed with alphabet stickers |

Layout #2
 |
| Pictures of our granddaughter Cadence playing in the snow with her daddy last winter. Love the photos cut into circles and layered down the page...perfect for these snow pictures I think. This layout also doesn't show the vibrancy of the layout. I used a Martha Stewart border punch. I used 3 separate files from the Silhouette design store--the title the snowflake border along the bottom right the large snowflake swirl you see above the photos on the left. I used homemade mists to color the snowflake swirl before adhering it to the page. |
 |
| Absolutely love my little snowman!! He is just too adorable, right?? I used some liquid applique for the swirls on the bottom circle. I used the heat gun to "puff them up" and then added some diamond stickles. I used 2 different circle punches for the body. The hat, scarf and arms were cut freehand by me. The small green snowflakes are an old mini snowflake punch I believe I got at WalMart about 12 years ago. The sequins are from Scrapbook.com. the trim I also picked up from Walmart. |
 |
| I fixed that snowflake after I took the picture...one of the "petals" had gotten caught in the Xyron when I ran it through and I didn't notice it at first. I hand sewed the white ball trim onto the page and also onto the journaling envelope. |

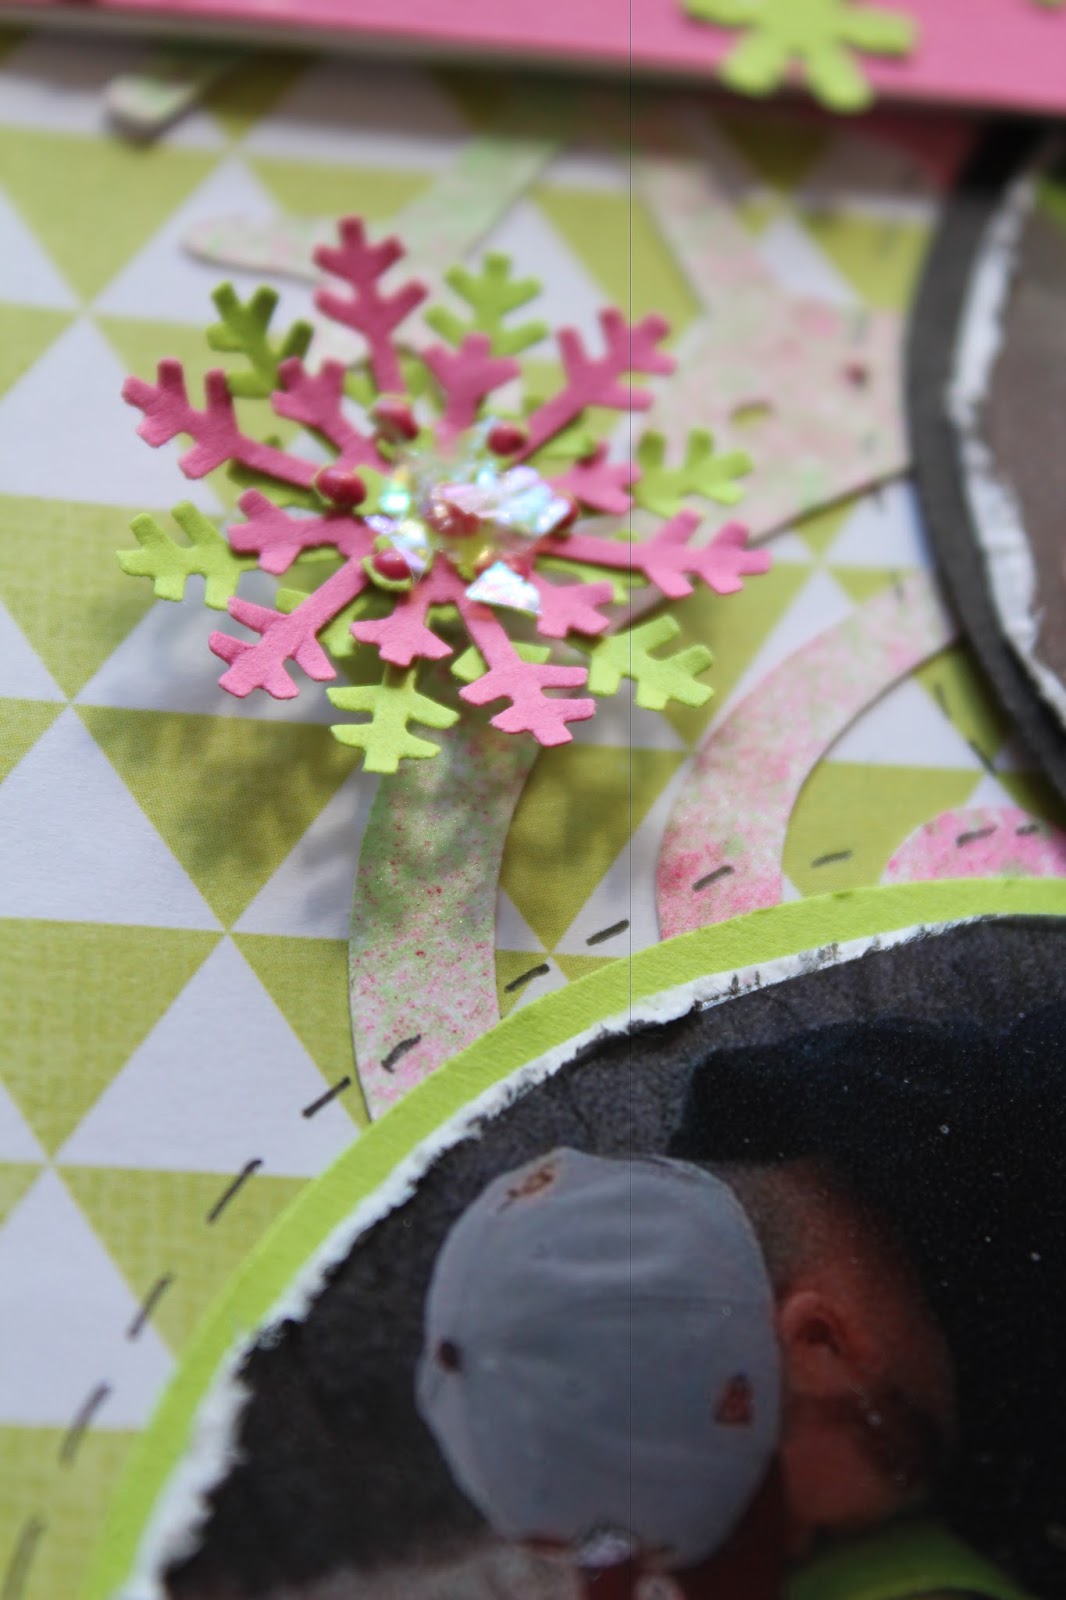 |
| Martha Stewart medium snowflake punch was used for the snowflakes. I then took some diamond glaze and placed it in the center of each flake and added some Stampendous Shaved Ice flakes. |
 |
| Snowflakes are popdotted onto the page for added dimension. |
 |
| I used a Crafters Workshop stencil for the dotted outline around the photos. The title "brothers" was created using some chipboard letters from my stash. I mixed a couple different colors of acrylic paint together to get the color I wanted. I used a punch for the 3D star and used my Martha Stewart mini scoreboard to score the lines and create the 3d effect. I then popdotted it onto the brown cardstock which I had run through the paper crimper. The 4 stars on the bottom right are covered with Tim Holtz Fragments. |
 |
| closer up view of the chipboard title. |
 |
| the "man" is a stamp, the clock hand is Tim Holtz I think...could be Paper Studio. I ran the brown cardstock through the crimper as I stated above. Then I added just a few touches of texture paste and then the accents. |
 |
| The filmstrip is a punch...If I'm not mistaken it's EK Success. |
I hope you guys enjoy the layouts and if you have any questions at all concerning products or techniques be sure and leave me a comment and I'll get right back to you.
Thanks for stopping by and come back soon.
Rhonda